Thursday, July 17, 2014

Staining & mounting roots

The next step in the analysis of the roots harvested from the MIP is staining and mounting. The 0.15 grams of roots from each corn plant grown in our different treatments of soil was placed in a small cassette and then placed in boiling 10 % KOH for 3-5 minutes. The potassium hydroxide clears the roots of the cellular contents of their cortical cells so that the fungi, which lives inside the roots, can be seen better. The fungus isn't killed because the fungus is made of chitin which is very recalcitrant and resists breakdown. 
 KOH and ink in vinegar solution
Roots in boiling KOH
The next step after the roots have been boiled in KOH is to place them in boiling 5 % ink in vinegar solution for 3 minutes. After this step has been completed, the fungi inside of the roots will have been stained and will be completely visible under a microscope. The roots are then mounted in PVLG on a microscope slide to be viewed. 
Dr. Chaudhary's perfect example slide
All of our roots stained and mounted
And finally our roots are ready to be examined for mycorrhizal fungi!

MIP Harvest

In other great news, the MIP* was harvested just after the corn plants matured enough to develop significant relationships with potential mycorrhizal fungi in the soil. The corn plants were grown in order to look at how our different soil treatments varied in terms of the presence of mycorrhizal fungi. Did the native inoculum truly have mycorrhizal fungi? Was the sterilized soil truly sterile? In addition to confirming our treatments, analyzing the MIP also provides a baseline, or a starting point, of how much mycorrhizal fungi was present before we started our experiment. 

The MIP just before harvest
As a reminder, our green roof experiment has several different treatments of soil and we want to analyze if and how mycorrhizal fungi benefits a green roof.

In order to analyze the mycorrhizal fungi in the soil, the roots have to be harvested since the fungi live inside the roots. But first, the above ground biomass is harvested, dried and weighed. Obviously, the plants with the most above ground biomass were the strongest and healthiest. We want to quantify the above ground biomass as a confirmation our results of the below ground biomass. 

After harvesting the above ground biomass, the below ground biomass, or the roots, are left in their respective "conetainers" and then are placed in the freezer until we are ready to begin washing the roots. The freezer halts any decomposition that may be happening in the soil which could artificially lower our results. Once the roots are ready to be washed, they are taken out of the freezer and placed in a series of water baths to ensure that the roots are clean and not "being weighed down" by any extra soil, which would also skew our results. 

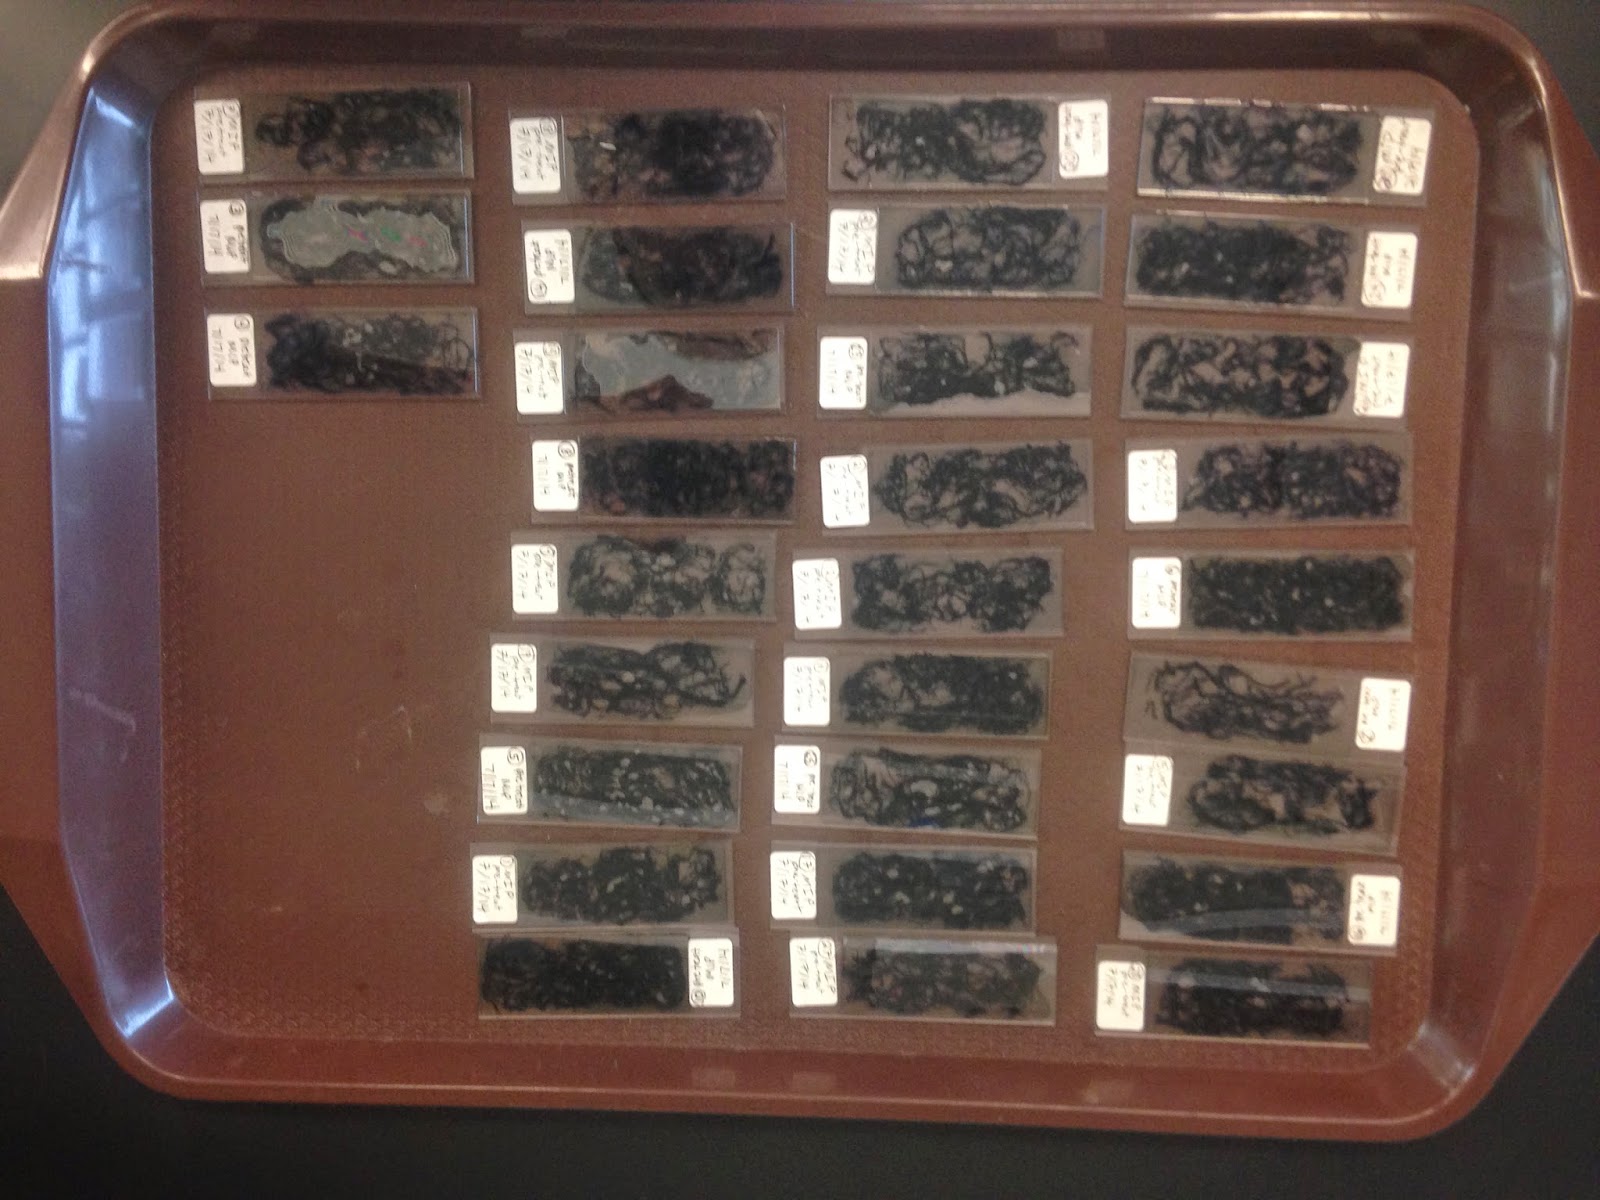
Once the roots are washed, 0.15 grams is weighed out to be stained and placed on a slide. The roots are first cut into 4-5 1" sections where roots are taken from each section in an effort to sample in a stratified manner. These roots will be examined under a slide for mycorrhizal fungi relationships. The rest of the roots are weighed and dried to determine the below ground biomass weight. 

Sarah cutting corn roots into sections
This very time consuming process will tell us everything we need to know about the health and virility of our different soils; it will quantify the amount of mycorrhizal fungi in our different soils. 

*For more information on what the MIP is, please refer to my first blog post :)

Thursday, July 3, 2014

I-buttons/Thermotrons!

Great news on the green roof research front! I have been diligently working to figure out how ibuttons, small computer chips that record temperature readings, work in order to begin collecting temperature data on our green roof. We want to record the temperatures inside the different trays of different soils in order to make conclusions about whether green roofs with native plants and/or added arbuscular mycorrhizal fungi improve heat insulation. In order to know this, we need to track the soil temperature at different times in the different soils. We will also compare it to the temperature on the green roof surface as a control. Luckily, we have little ibuttons, or thermotrons as Sarah and I have named them, to help us out. 

I have been performing small experiments on all of our ibuttons in order to verify that they take the exact same temperature reading while in the same environment. In order to set the experiment up, the ibuttons must be set on a mission (Sarah and I didn't make up that term, I know shocking). However, you cannot set a start time for all the ibuttons (we really wish we could). We want to start all the ibuttons at the exact same time so time is not a variable when analyzing the results. In order to do this, you have to set a mission time delay...This means that if you have 26 ibuttons it will take 26 minutes to set them up. The first ibutton mission time delay should be set at 26 minutes, the second at 25, the third at 24, etc. so all the ibuttons will start their mission at the same time. 

The next step in the small experiment I did was to place all the ibuttons in different environments, such as at room temperature, in the fridge, in the freezer, and on top of the green roof. Then, I analyzed the data. If all of the ibuttons took temperature readings at exactly the same time, then they should all have the exact same temperature readings in the different environments. 

The results were great. I calculated the averages and standard deviations for each of the ibutton's temperature readings at the different times. The standard deviations were for the most part below 1, with only a few above 1. 

This gave us enough confidence that our trusty ibuttons were able to do their job correctly. So, this morning Sarah and I set all the ibuttons to start their mission at 5:00 PM today. This gave us enough time to bury all the ibuttons about halfway down in the soil in the middle of the selected trays (the trays were selected randomly).

Here are the trusty ibuttons ready to start their mission! 
26 ibuttons in plastic bags
An ibutton ready to be buried alive!
The ibuttons were placed in a plastic bag because unfortunately they are not water proof. While the plastic bag may affect the temperature reading slightly, all of the ibuttons are in a plastic bag, so all the temperature readings will be affected in the exact same way. The small piece of paper labeled each ibutton's location and ID. The ibuttons are able to store 2,048 temperature readings. We set the ibuttons to take a temperature reading every hour. That means we will be able to leave the ibuttons out on the roof until late September when we will have to take them back inside to retrieve data and restart their missions . 
Me planting the ibuttons

An ibutton being buried in a control tray
A control ibutton taped to the green roof